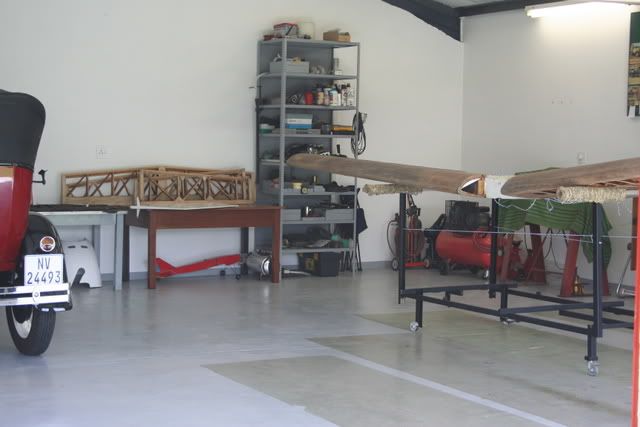
Most important is ones workshop, mine been 9x9 meters=81m2 with epoxied floors and plenty for lights.The workshop is a cool 10 meters from my house's back door therefore can run out and be working in 10 sec flat.
One of the most useful tools i have is a old double v bed South Bend metal lathe. Besides turning things, it is useful to clean and polish items. Besides the lathe, i'v got just basic hand and power tools including a 100 litre compressor. I purchased a cutoff machine recently, now i can cut steel STRAIGHT
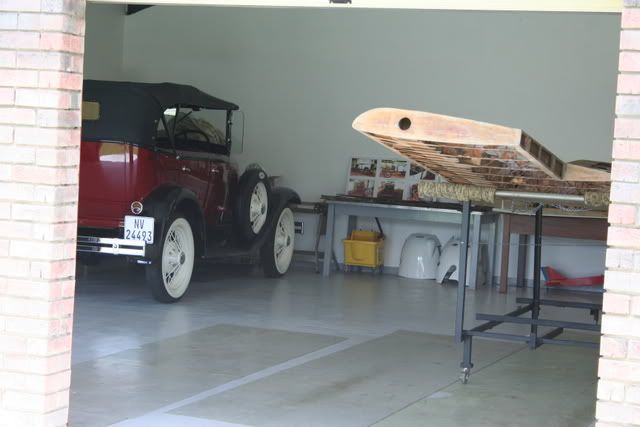
Here are three pic's of my workshop
[url]
 [/url]
 [url][
 /url]
/url][url]
 [/url]
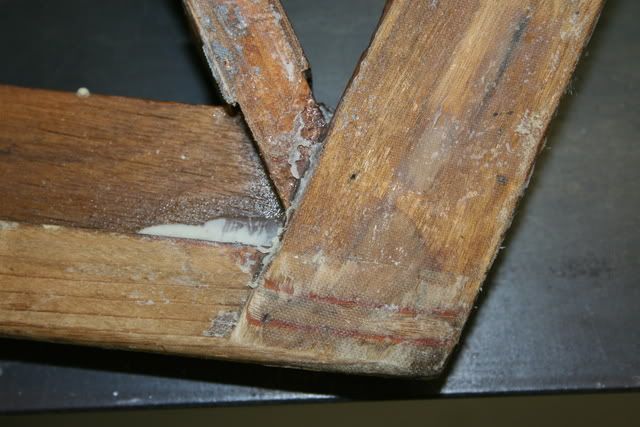
Comments and critisim are welcome as we travel down the road with this rebuild!!
More tomorrow
Regards
Glen

 [/url]
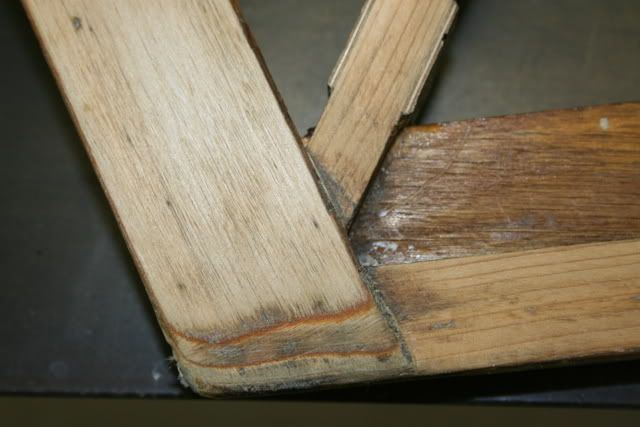 [/url]
 [/url]
 [/url]
 [/url]
 [/img]
 [/img]